File — open, save, report
Open a set, reopen a job, save a PDF, put a legend on the sheet, or print a summary of the takeoff.

Every button, panel and dialog, grouped by what you are trying to get done. Each one says what it is for, how to use it, and what it looks like on a real drawing. Nothing here is a mock-up — every picture is taken from the app working on the sample set you can download, at that sheet's own scale, so the numbers in them are numbers you can check.
If you would rather be walked through one takeoff start to finish, read the step-by-step guide instead. This page is the reference you come back to.
Or scroll — the page runs in the order you would actually use things.
The toolbar runs along the top in labeled groups, the sheets are down the left, the panels are down the right, and the status bar is along the bottom. If you know roughly which group a thing lives in, you will find it.
Open a set, reopen a job, save a PDF, put a legend on the sheet, or print a summary of the takeoff.
Search the set, draw a shape to a typed size, put two sheets side by side, or compare one revision against another.
Text, callouts, pen, lines, arrows, shapes, clouds, highlighter, notes, numbered bubbles, images and dimensions. None of these measure anything.

Scale, regions, spaces, lengths, perimeters, areas, radii, diameters, angles, the flood fill, and the two ways to count. Everything here lands in the Takeoff List.

Rollset will draw and mark up without a scale, but it will not measure until it knows one. Setting it takes about five seconds and it is the difference between a number you can bid and a number you cannot.
Drag along something on the sheet whose real length you know, then type what it is. A printed dimension string is ideal; the graphic scale bar in the corner works just as well.
If you would rather not measure anything, the same dialog lists the common architectural and engineering scales — 1/8" = 1'-0" and the rest — and you can just pick one.
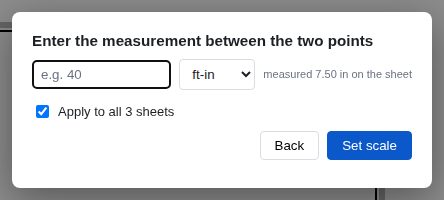
Watch out for per-sheet scales. Site plans and details are very often drawn at a different scale from the floor plans in the same set. The sample set has this trap in it on purpose: A-103 is at 1" = 30'-0" while the others are at 1/8" = 1'-0". Set the scale from each sheet's own bar rather than assuming.
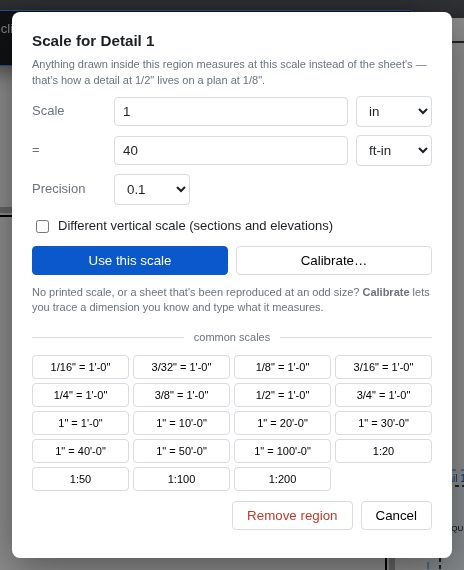
For a detail drawn at its own scale in the corner of a sheet. Drag a box round the detail and give that box its own scale; anything you measure inside it uses that scale instead of the sheet's.
Every measurement carries a subject, totals itself with everything else of the same subject, and lands as one row in the Takeoff List.
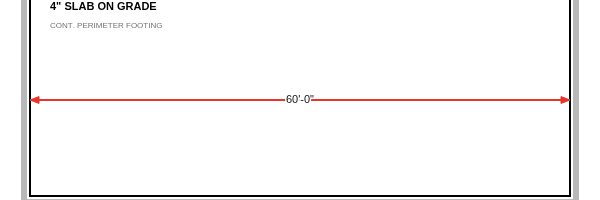
A straight run between two points. Click each end, or drag. It is tipped with an arrowhead at each end so you can tell it apart from a plain line on a busy sheet.
A run of several legs — curb, gutter, footing, fence, base trim. Click each corner and press Enter to finish. It totals the run you actually drew and leaves it open.
If you want the side back to the start counted as well, tick Close the loop in Properties. It is off by default because three sides of a building is a real thing to measure and an accidental fourth side is a real way to overbid.
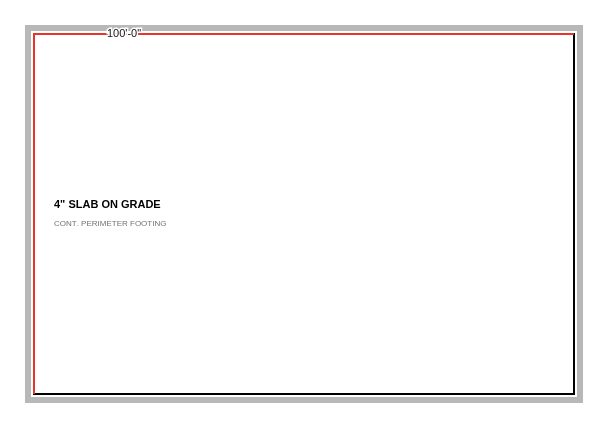
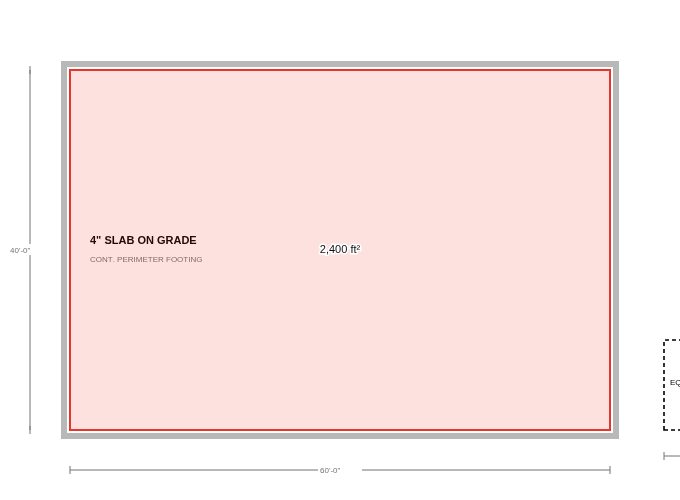
Click each corner and press Enter to close the shape. It reads one number, in the sheet's units, in the middle of what it measures.
Give it a depth in Properties and it will also carry a volume, and a wall area if that is what you are after — but it still prints one figure on the drawing, because five numbers stacked on a shape is a row nobody reads.
The one that saves the most time. Instead of tracing a room corner by corner, click once inside it and Rollset finds the walls itself and fills to them.
Rooms leak. Doorways, missing lines and gaps where two walls nearly meet will all let the fill escape into the corridor. Set Gap to close in Properties — it bridges openings up to that width, so a 3′ doorway stops being a hole. Start small and raise it: too large a gap will jump a wall you meant to keep.
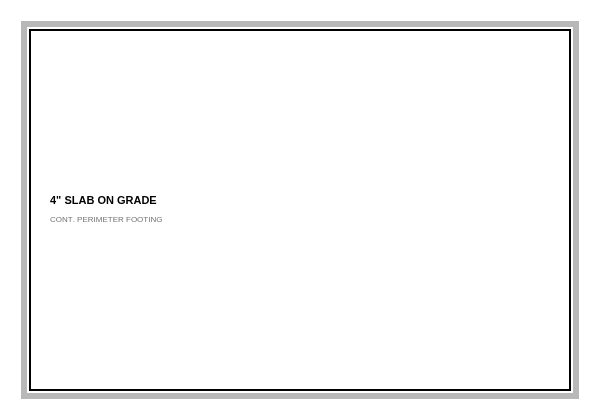
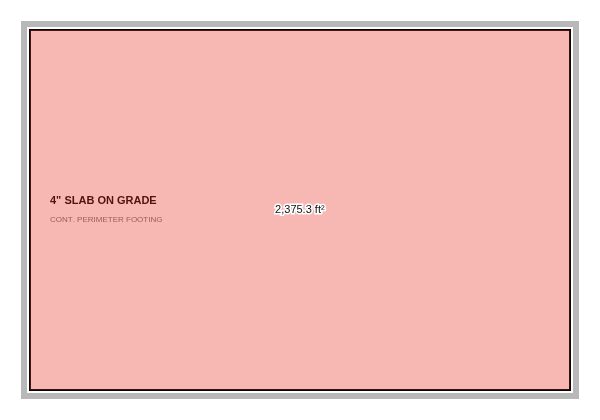
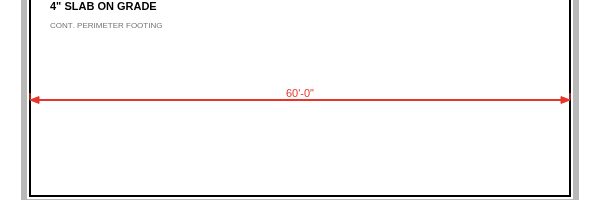
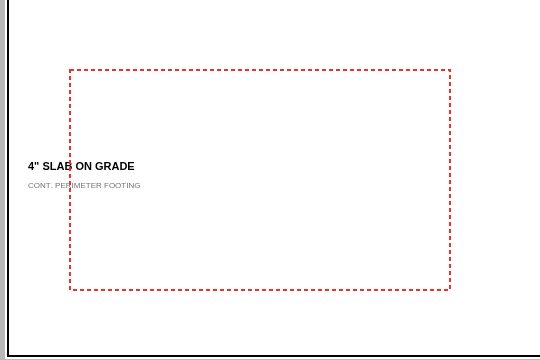
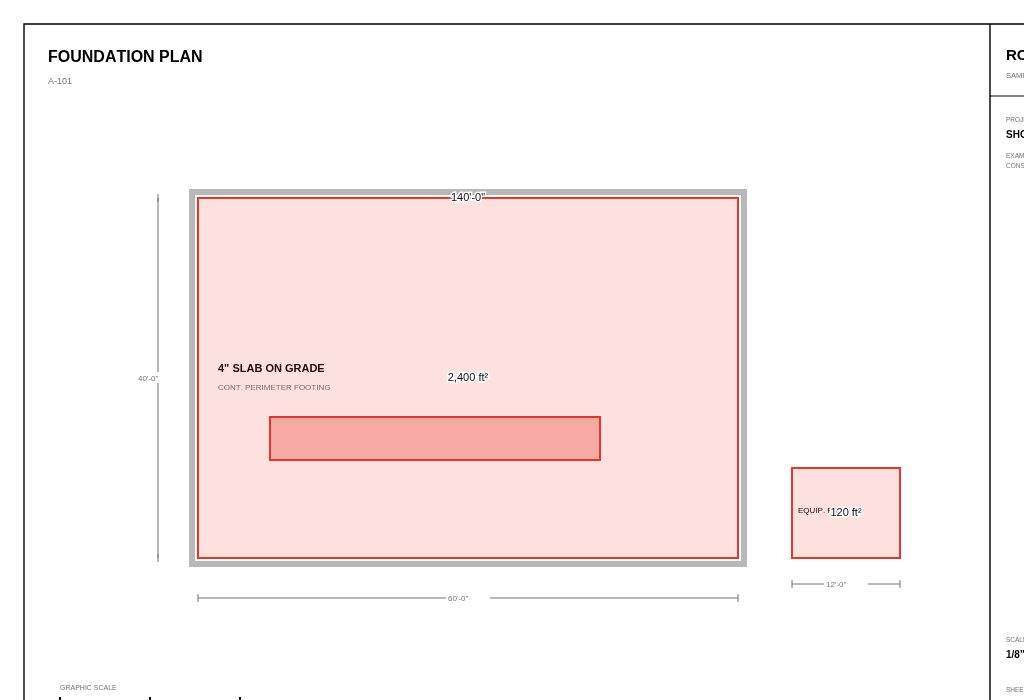
The fill reads 2,375 sf here against 2,400 sf for the slab outline, and both are right — the fill found the inside face of the perimeter footing, which is what you would want for a floor finish. Know which face you are measuring to.
Click the center, then any point on the circle.
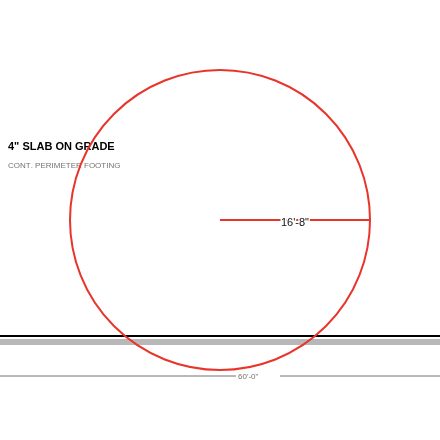
Click each end of the diameter, or drag straight across the circle.
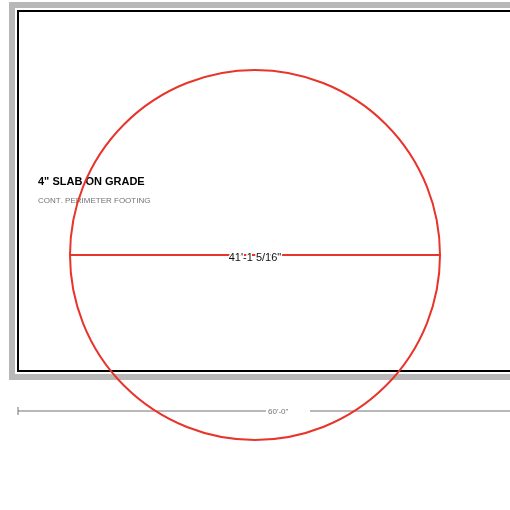
Click any three points along an arc and Rollset works out the circle they belong to. Use this whenever you cannot see where the center is, which on a curved curb or a bay window is most of the time.
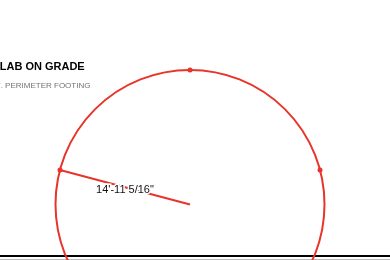
Click along one arm, then the corner, then along the other. It needs no scale at all — degrees are degrees whether or not the sheet has been calibrated.
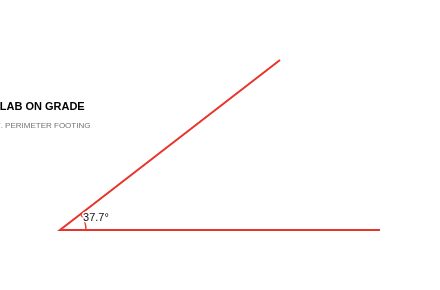
A dimension string you add to the drawing yourself: click each end, then type what it reads. Use it to record a size you were given rather than one you measured — a field dimension, a number off an email.
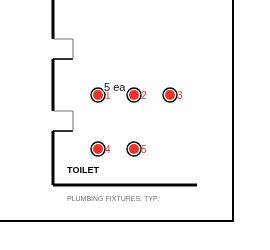
Click each item. Every click adds a numbered mark and the tally goes up. The whole run is one markup holding all the points, not one markup per click — so it is one row in the Takeoff List, and deleting it removes the count rather than leaving orphans behind.
Set a multiplier in Properties when one symbol means more than one thing: a duplex receptacle counted as two, a fitting that always comes as a pair.
Drag a box round one symbol and Rollset finds every other copy of it on the sheet. On a lighting plan with two hundred diffusers this is the difference between twenty minutes and twenty seconds.
It does not count anything straight away. Every candidate it found is drawn on the sheet for you to look at first, with a banner telling you how many there are. Click any mark you do not want and it drops out; click it again and it comes back. Only when you press Count does it become a tally on the drawing.
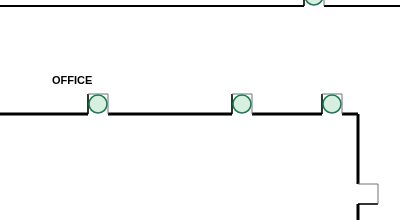
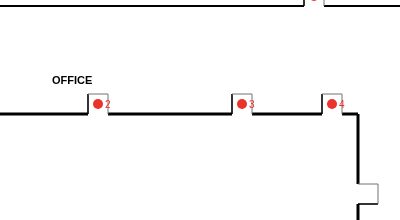

It matches the symbol as drawn, including which way round it is. On the sample set's floor plan there are seven doors, and a box round one of them finds five — exactly the five that swing the same way. The two on the demising wall are turned ninety degrees, so they are a second run: box one of those and count them too. That is the tool being careful rather than being wrong, and it is why the review step exists.
Small symbols count the same as big ones — a plumbing fixture drawn as a circle a few points across with a hairline stroke is found as reliably as a door. What it works from is the sheet as it is drawn on screen, so if a run on a very small symbol comes back short, zoom in a step and run it again: there is more of the symbol to match at higher magnification. Dropping the sensitivity and boxing the symbol more tightly are the other two dials.
None of these measure anything. They are for saying something on the sheet — to a sub, to the architect, or to yourself in three weeks.
Click once to start and again to finish, or drag.
A line that already has its head on. Click to start, click at the thing you are pointing at.
Click one corner and again for the opposite one, or drag.
Two opposite corners of the box it fits in, clicked or dragged.
Two corners, like a rectangle. For flagging what changed.
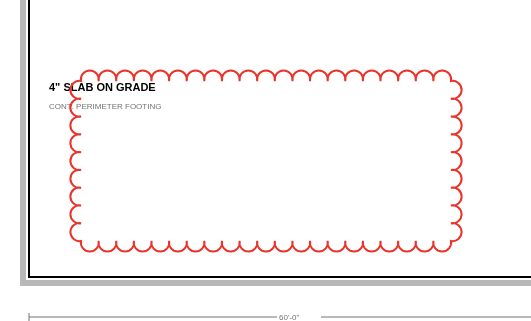
Click each corner, Enter to close. Set its edge to Revision cloud in Properties for a cloud that is not a rectangle.
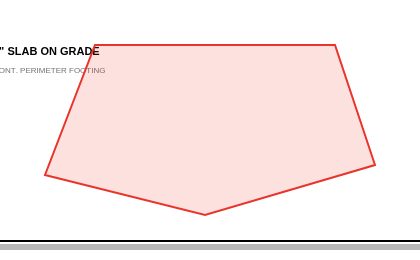
Click each point, Enter to finish. An open run of straight legs.
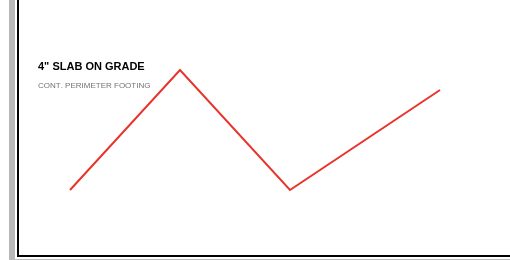
Drag the chord, then click to set how much it bulges.
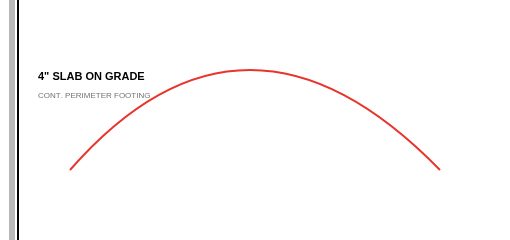
Freehand. Useful on a tablet, and for circling something in a hurry.
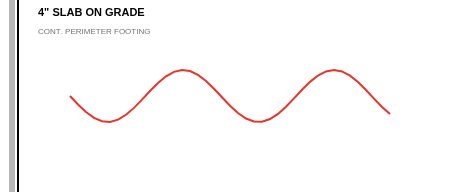
A translucent band over what is underneath. Swipe across something the way you would with a real marker, or drag a box when you want a taller band. A swipe never comes out thinner than the pen is wide.
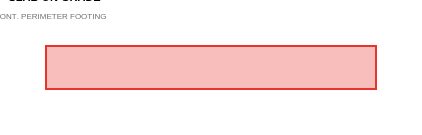
Click anywhere and type. The writing sits straight on the sheet with no box round it.
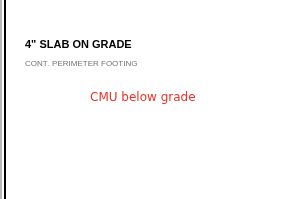
Same, but in a box that wraps. Click or drag the box first, then type.
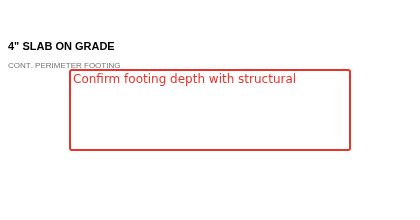
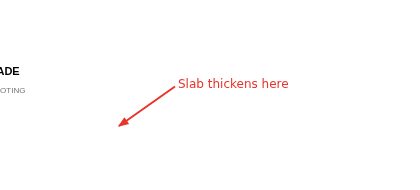
Words in one place, pointing at something in another. Click where the words should go, type them, then drag the arrow onto what they are about. There is no box round the text — use a Text box if you want one.
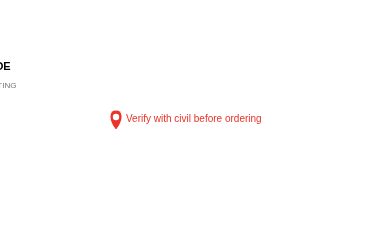
A pin with a remark attached. Use it when the drawing is already busy and another sentence printed across it would make things worse — the pin sits quietly and opens when someone wants it.
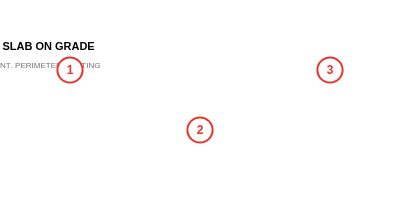
Each click drops the next number in sequence — punch items, RFIs, detail references, keynotes. Set the prefix and the next number in Properties, so you can start at RFI-14 rather than 1.
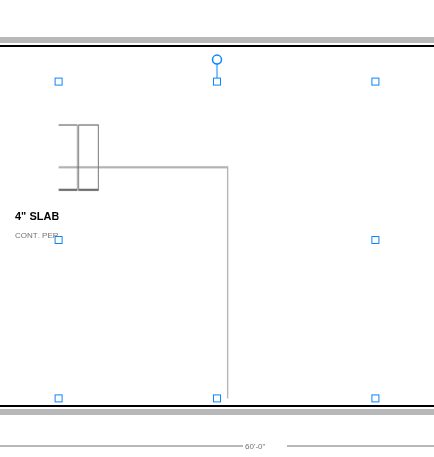
Put a photograph or a screenshot on the sheet — a site photo of the condition you are asking about, a detail lifted out of the spec. Size it by its corners and turn it by the grip above it. You can also paste a screenshot straight in, or drag a picture file onto the sheet.
Drag a box round part of the sheet and it becomes a picture — place it on another sheet, or paste it straight into an email. It captures what would print, markups and all, so a snapshot of your takeoff shows the takeoff.
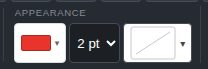
Color, line weight and fill pattern for whatever you draw next, in the toolbar. Change them with something selected and you change that instead.
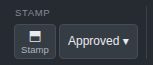
The ones a set actually needs — Approved, Reviewed, As Built, and the rest — placed with a click. Every stamp in Rollset is text rather than a picture, so it stays sharp at any zoom and prints clean.
Measuring is the easy half. This is the half that decides whether the numbers mean anything when you come to price them.
The box in the toolbar that says what the next markup is: "Building slab", "6in CMU", "Doors". Everything sharing a subject totals together, and each subject becomes one row in the Takeoff List.
Set it before you measure and the takeoff organizes itself as you go. New item starts a fresh one. Getting into this habit is worth more than any single tool on this page.

Every measurement on the job, grouped by subject, totaled, with the sheet each one came from. Click a row and it takes you to the markup. It is the thing you check before you send a price.
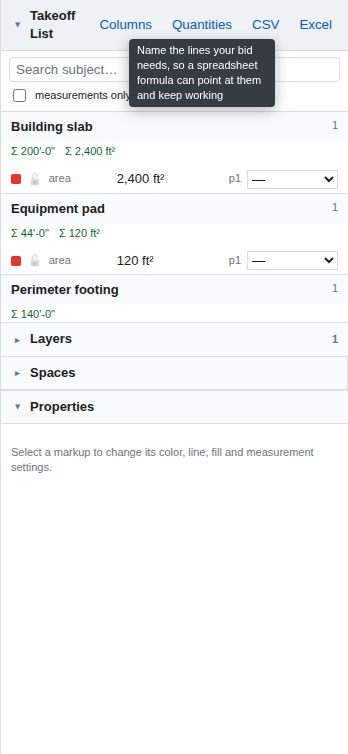
Add your own columns to the Takeoff List — a unit rate, a waste factor, a supplier, a note, a date, a tick box — and let it do the arithmetic. A formula column can multiply the measured quantity by a rate, so the takeoff comes out priced rather than exported and rebuilt in a spreadsheet.
It is still your spreadsheet's job to be the estimate. The point of doing it here is that the number and the drawing it came from stay attached to each other.
Give a total a name, and that name is what a spreadsheet points at. When the drawing changes and you remeasure, the name still means the same thing, so the estimate updates instead of breaking.
This is the difference between a takeoff you can revise and a takeoff you redo. Name the quantities that matter — the ones a revision will move — rather than all of them.
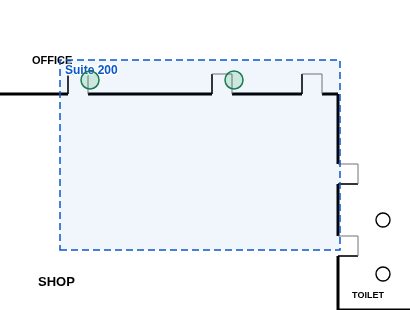
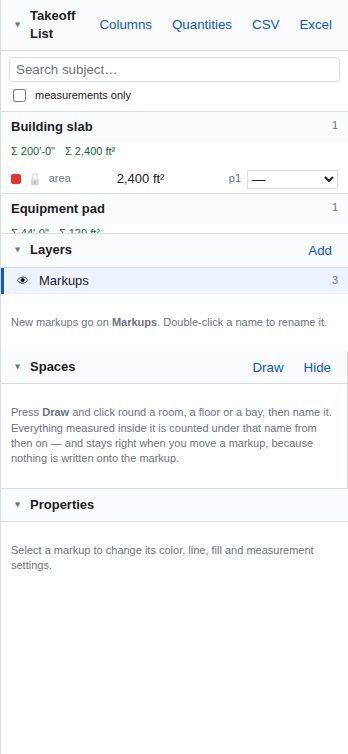
Draw round a room, a floor, a bay or a unit and give it a name. From then on every markup inside it is counted under that name as well as its own subject — so a takeoff breaks down by room without you measuring anything twice.
Draw the spaces first, once, then take off normally. Nothing you do afterwards has to know about them.
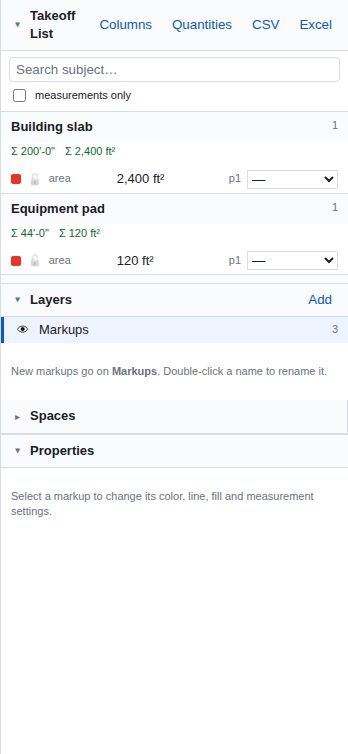
Keep trades apart. Put the electrical takeoff on one layer and the concrete on another, then show one at a time when the sheet gets crowded, or when you are sending the marked-up set to one sub and not the other.
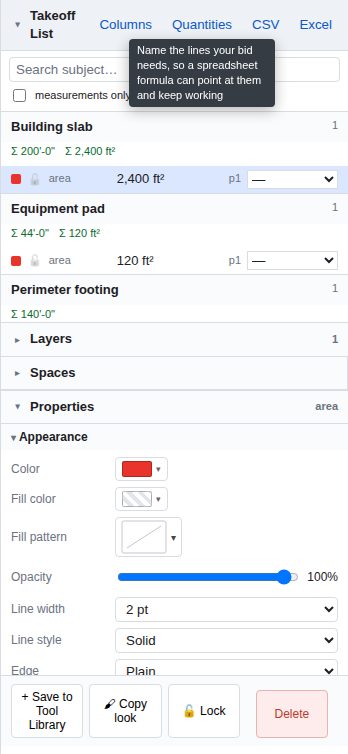
Everything about whatever is selected: color, line weight, fill, the measurement settings, depth, multiplier, the subject, the status. Select several markups and change them all at once.
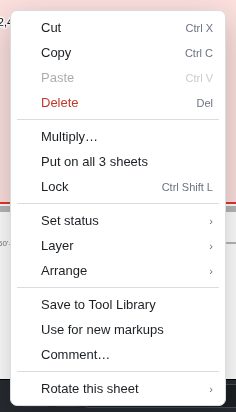
Right-click anything you have drawn. Cut, copy, delete; Multiply for regular copies; Put on all sheets for something that belongs on every one; Lock so you stop nudging it. Then Set status (Accepted, Rejected, Completed, In Progress, or your own), Layer, and Arrange for front-and-back and lining up.
Save to Tool Library keeps the thing you just set up. Use for new markups makes its settings the default. Comment… adds a remark to it.
Click a markup to pick it up. Handles to resize, the grip above to turn it.
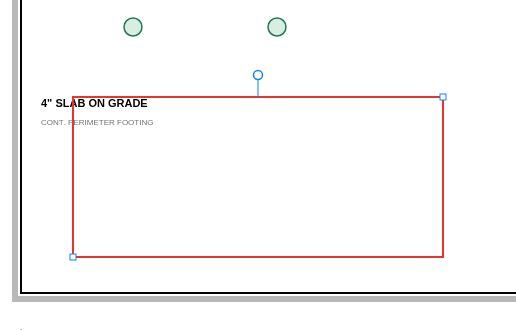
Draw round several markups at once when a box would catch things you do not want.
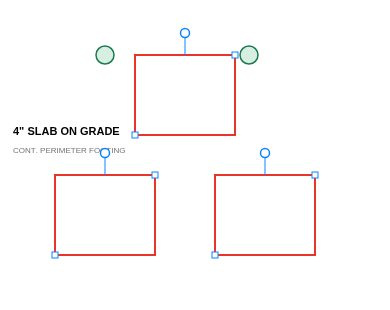
Or hold Space in any tool, or drag with the middle mouse button — which is what you will actually do.

Drag a box and it fills the window. Faster than scrolling in when you know where you are going.
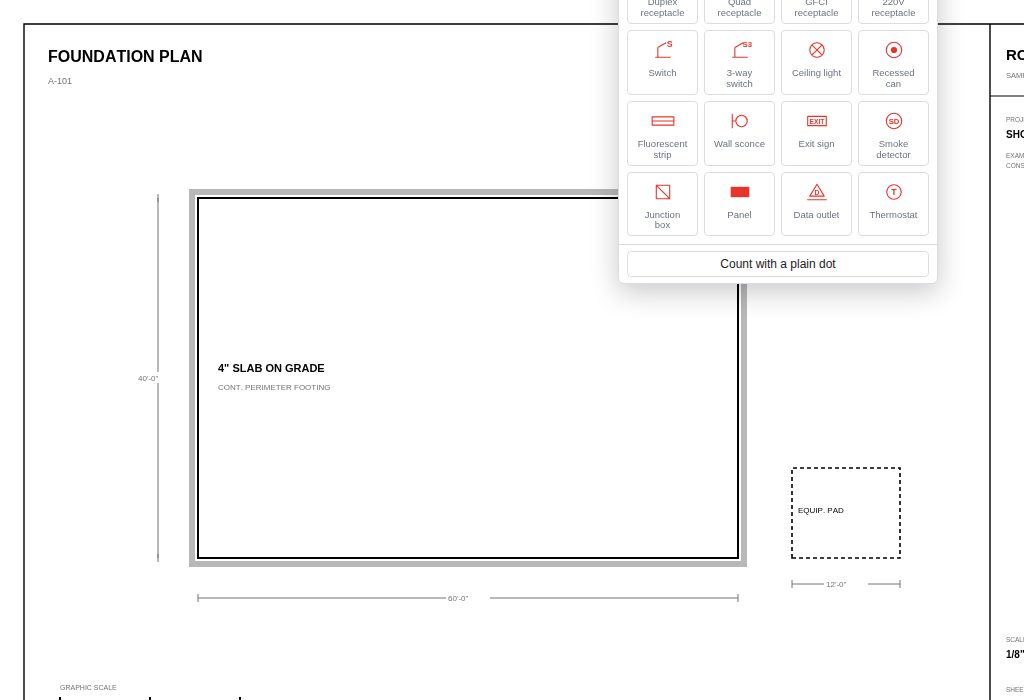
Every sheet in the set down the left, by number and title. Flag the ones you are working on and filter to just those. Rotate, delete and reorder from the same panel.
One tab per set. Keep the architectural set, the structural set and last year's job open side by side. The + opens another PDF, starts a blank document, or reopens a job you already have.

Find a sheet, or any text on any sheet in the set — a room name, a detail number, a spec section. Results say which sheet, and clicking one takes you there.
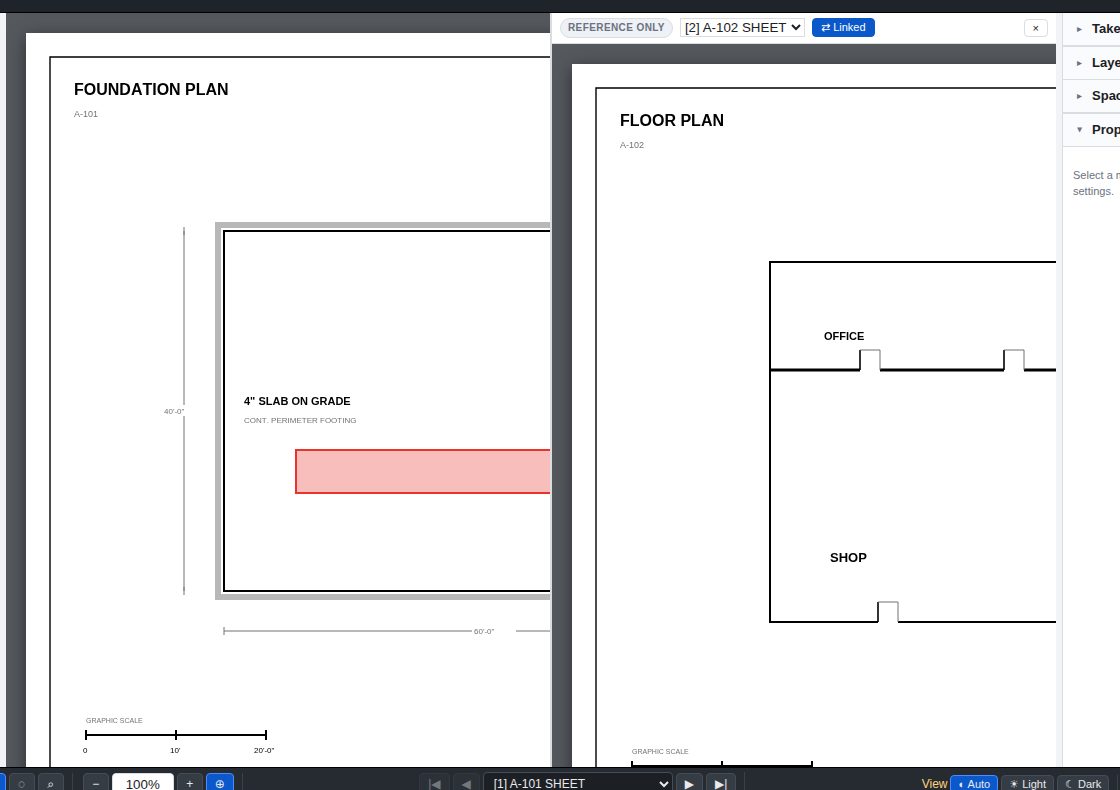
Two sheets side by side in one window — the plan and the schedule, the floor plan and the reflected ceiling, this revision and the last one. Each side scrolls and zooms on its own.
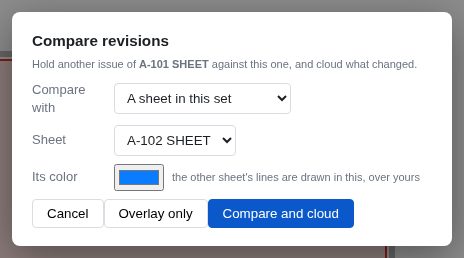
Hold one issue of a sheet against another and let Rollset find what moved. Pick the sheet to compare against, choose a color for the other issue's lines, and it can cloud the differences for you.
This is the one that pays for itself on a rebid. Nobody finds every change by eye, and the ones you miss are the ones that cost money.
Along the bottom: zoom, the sheet you are on, the light and dark themes, and the running totals — length, area and count for whatever you are measuring right now. Not the whole job; the number that tells you whether the last twenty minutes went the right way.

At the right-hand end of the status bar. Grid draws a grid at the spacing in the box beside it — in real-world units once the sheet has a scale, so a 1′ grid is a foot on the ground. Then three snaps: Grid makes every point land on it, Content makes points land on the drawing's own lines and corners, and Markup makes them land on something you already drew.
All of it is off until you turn it on, including on a new blank sheet. A constraint you did not ask for quietly moves every point you place, which is worse than no help at all.
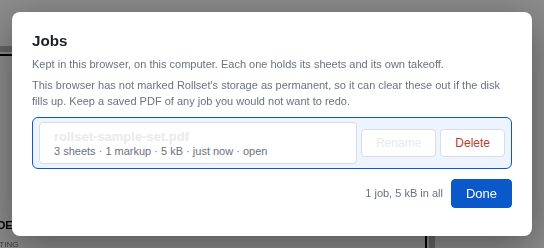
A job is a set plus its takeoff, kept on your own computer. Open the Jobs dialog to reopen one, or to see what is taking up room. Nothing goes to a server unless you switch on cloud backup, which is off until you do.
Three different things, and the difference matters:
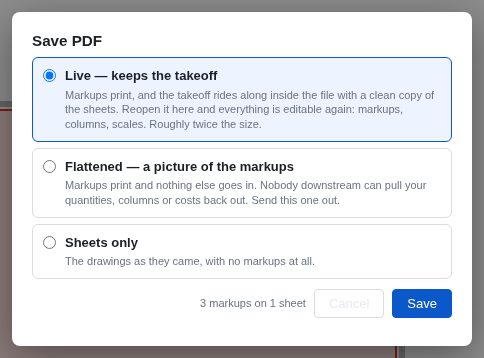
Send Flattened to anyone you are bidding against or bidding to. Keep Live for yourself and your own estimator.
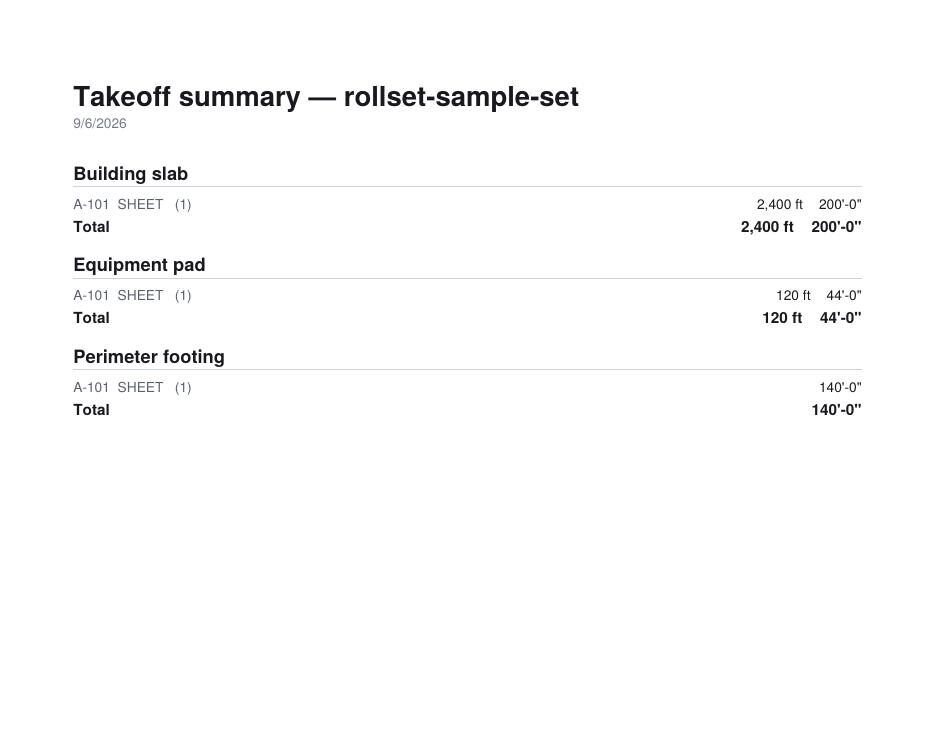
One page: every subject, its total, and which sheets it came from. Good enough to staple to a bid, and it is generated from the same numbers the Takeoff List shows, so the two cannot disagree.
A key on the sheet showing what each color and subject means, so a marked-up set makes sense to someone who was not there when you did it. Toggle it on and off; it prints if it is on.
The Takeoff List goes out as a spreadsheet with the columns you set up, including any you added yourself. Quantity, unit, subject, sheet, and your rates and formulas alongside them.
Save a tool exactly as you have it — "6in CMU", "8ft fence", "bollard" — with its color, line weight, fill and measurement settings, and arm it again with a number key. 1 to 9 take the first nine.
A tool set can be exported as a file and sent to your other estimator, so two people measuring the same job produce takeoffs that add up together instead of ones that have to be reconciled.
The symbols a count actually needs — receptacles, fixtures, diffusers, sprinklers — so a count mark looks like the thing it is counting. Every one is drawn from geometry rather than being a picture, so it stays crisp however far you zoom in.
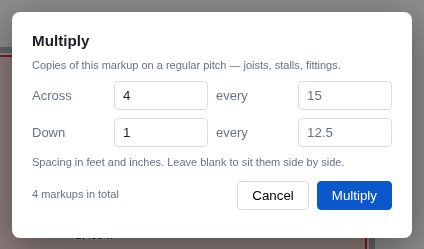
Copies of something on a regular pitch: joists, stalls, piers, light fittings, fence posts. Say how many across and down and at what spacing, in feet and inches, and it lays them out. The original stays where it is and takes the first cell.
Every copy is a markup like any other, so they all count and all total.
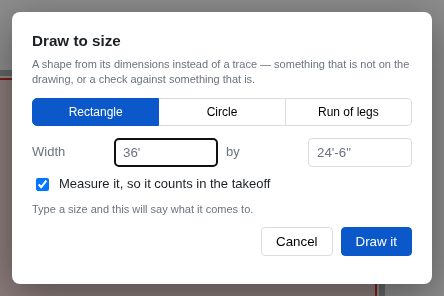
A shape from its dimensions instead of from a trace — type 36′ by 24′-6″ and it draws it. For something that is not on the drawing at all, or as a check against something that is.
Leave Measure it ticked and it counts in the takeoff like anything you traced.
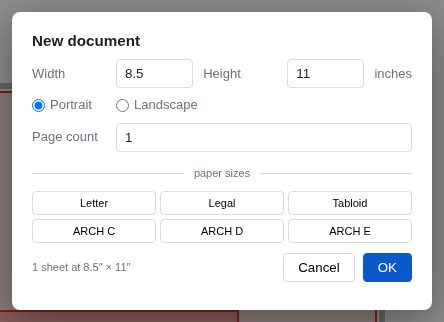
Blank paper at a real paper size — Letter, Legal, Tabloid, ARCH C, D or E — portrait or landscape, one page or several. For a sketch, a detail you are working out, or a cover sheet.
The grid stays off unless you turn it on, and the spacing is preloaded at a quarter inch so one click in the status bar gives you drafting paper.
A scanned drawing is a photograph as far as a computer is concerned: no text to search, no sheet numbers to read. Run OCR over the set and Rollset reads the words, so search works, sheet numbers come through, and the thumbnails carry titles instead of "Page 4".
It runs on your own machine, sheet by sheet, and you can keep working while it goes.
Measuring a scan is exactly as accurate as the scan is. Set the scale from that sheet's own graphic bar, never from another sheet, because a scanner that stretched the page by two percent will hand you a two percent error on every number.
A remark attached to a particular markup, rather than written on the drawing. Right-click something and choose Comment…. Use it for the reasoning — why this area excludes the mechanical room — that you will want in three weeks and nobody else needs on the print.
Every picture on this page was taken on the sample set, and the sample set comes with its answers published. Download it, measure it, and see whether Rollset agrees — it takes about five minutes and it is a fairer test of a takeoff tool than any feature list.